
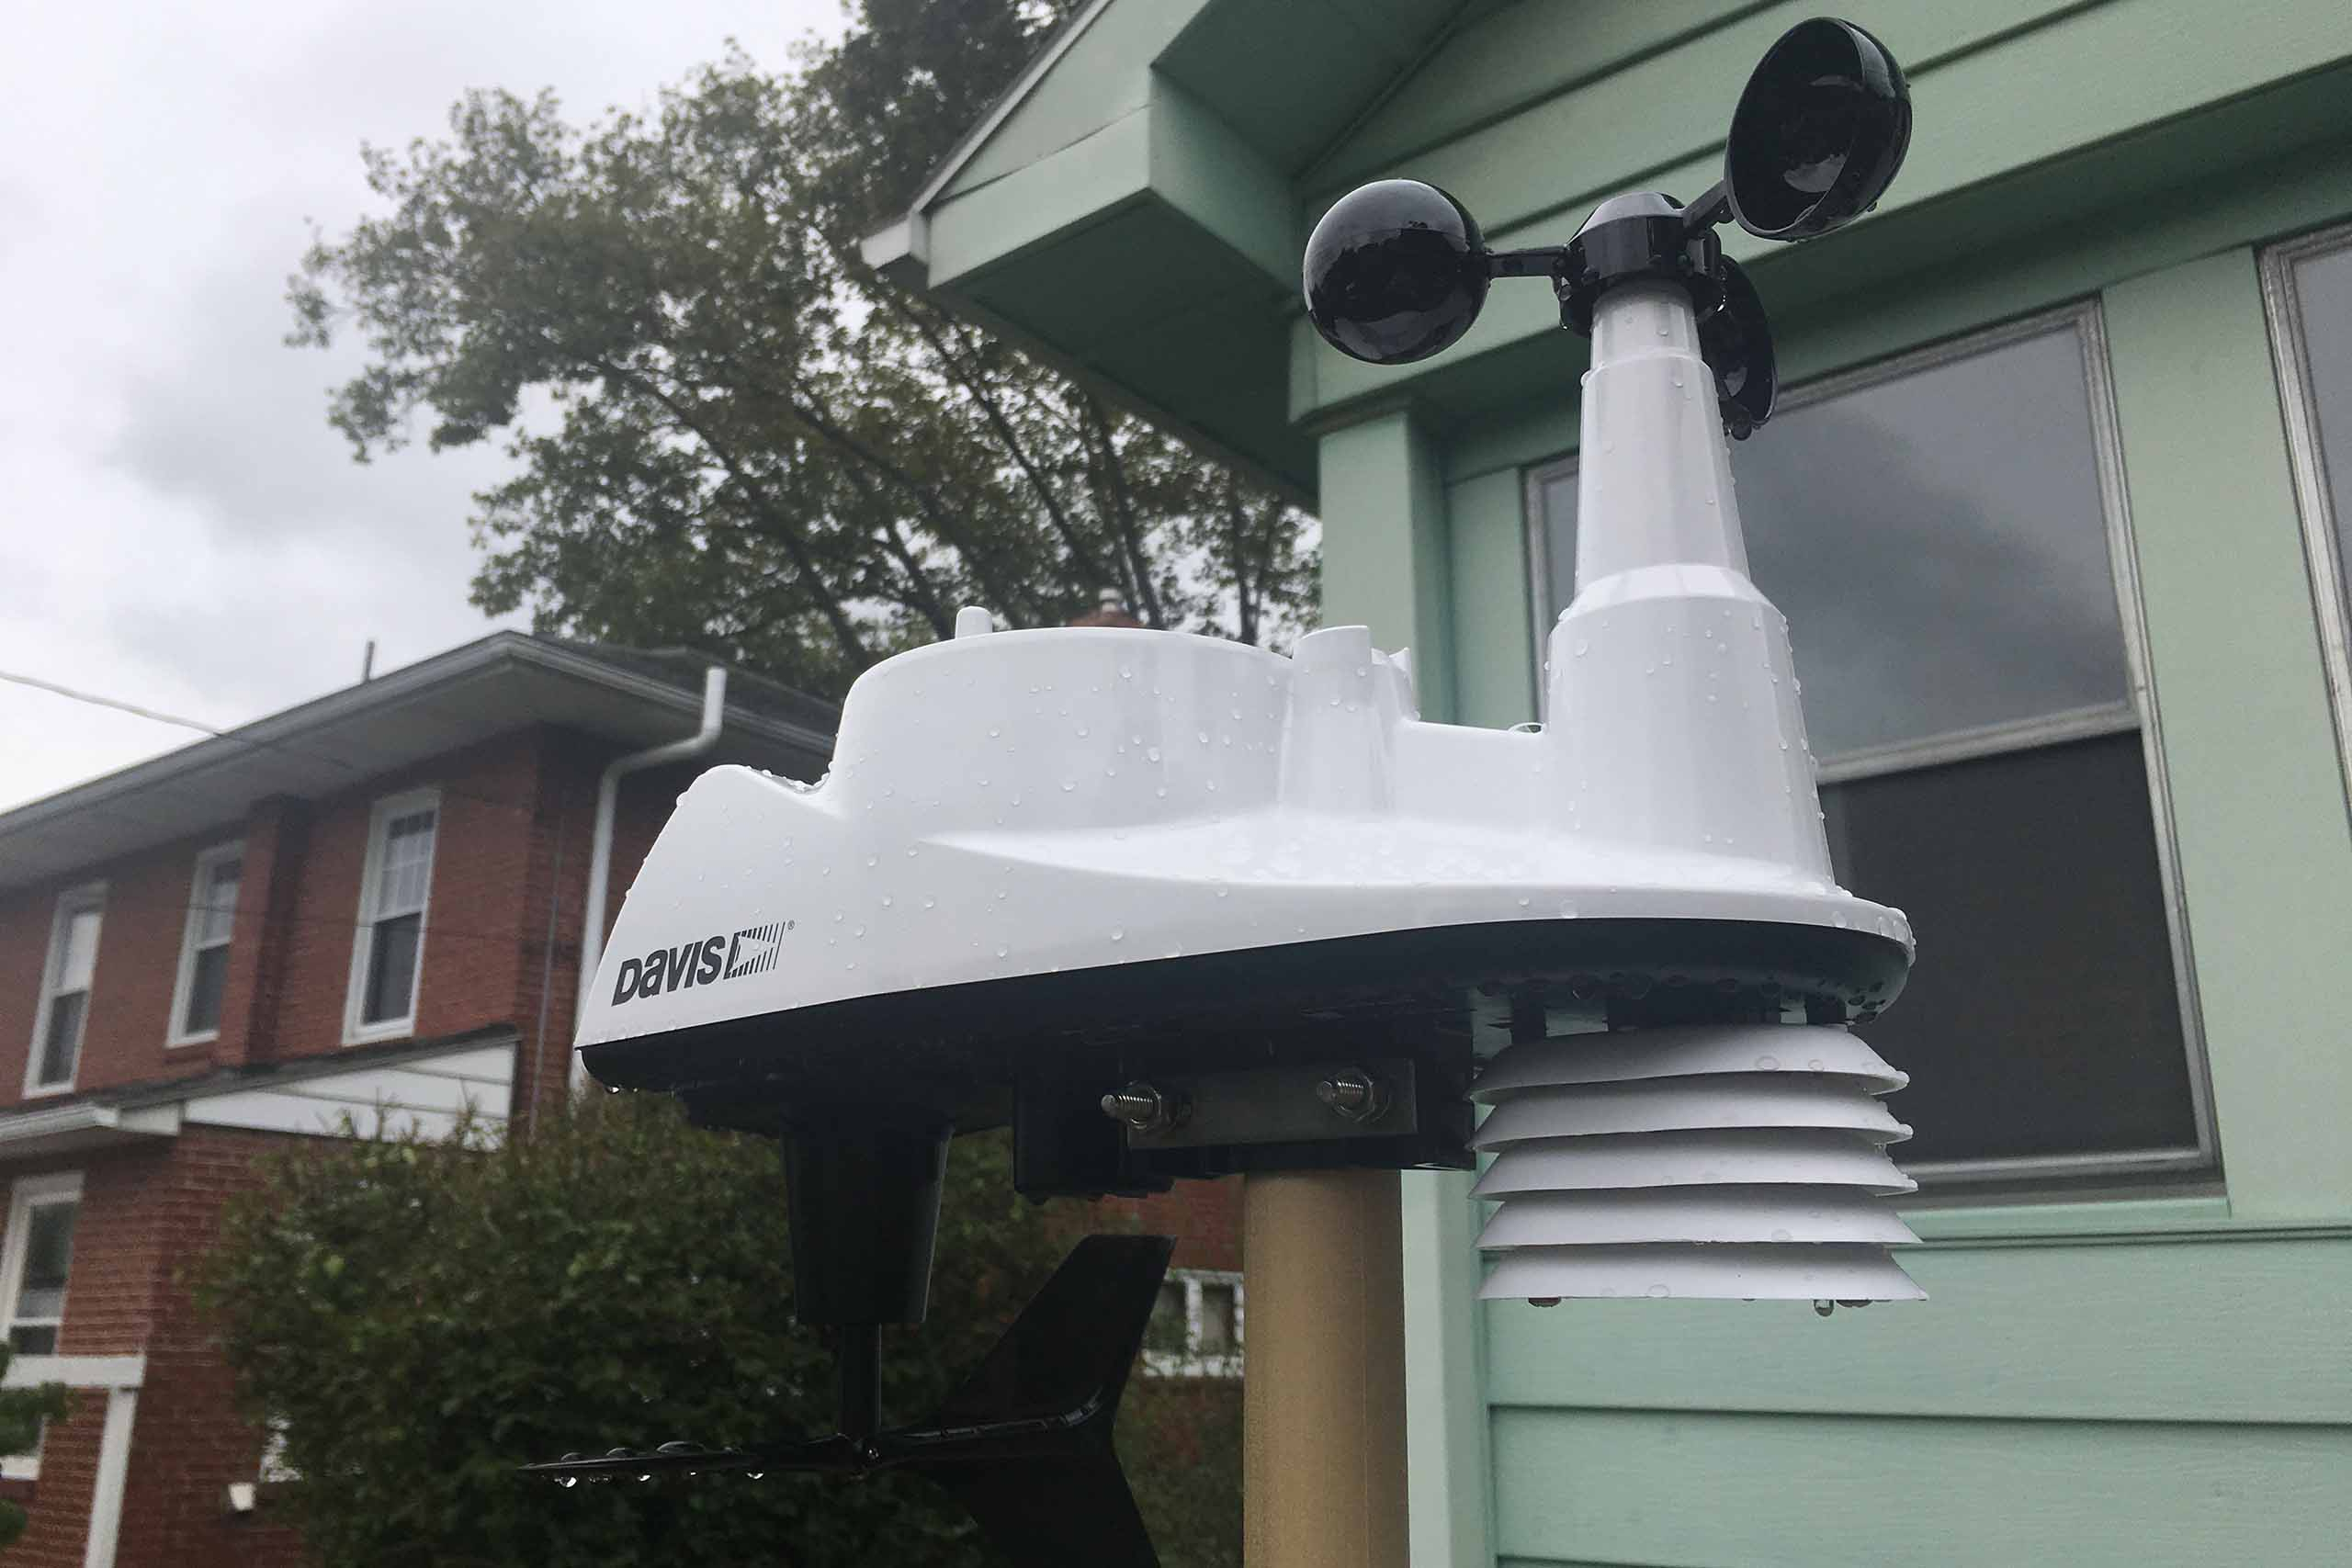
Picking a weather station mast or pole is easy to underrate — until a gust bends a cheap pole, an anemometer reads low because it’s mounted too close to a roofline, or a mount that looked sturdy in the box starts swaying in a storm. Mast selection comes down to three interacting variables: what the pole is made of, how tall it needs to be, and how much wind load it has to survive. Get any one wrong and the other two won’t save you. This guide walks through all three so you can size a mount correctly the first time.
Why Mast Choice Affects Data Accuracy — Not Just Stability
A wobbly or undersized mast doesn’t just risk a fall — it introduces measurement error. Anemometers mounted too low read artificially reduced wind speeds because of ground friction and turbulence from nearby structures. Rain gauges mounted too close to a wall or roof catch splash-back or lose catch in wind eddies. And any mast that flexes in gusts moves the sensor suite itself, adding noise to wind and even temperature readings from a shield that’s no longer level. The mast is instrumentation infrastructure, not an afterthought.
Mast Materials Compared
Three materials dominate consumer and prosumer weather station mounting: aluminum, galvanized steel, and fiberglass/composite. Each trades off weight, stiffness, cost, and corrosion resistance differently.
| Material | Typical Use | Pros | Cons |
|---|---|---|---|
| Aluminum | Rooftop and short ground mounts (Davis Pole Kit, Tempest Universal Mount) | Lightweight, naturally corrosion-resistant, easy to handle solo | Lower stiffness — flexes more under load at longer lengths without support |
| Galvanized steel | Ground-mounted tripods, tall guyed masts (Davis Mounting Tripod) | High strength and stiffness, holds up to extreme wind without guying at moderate heights | Heavier, needs a zinc coating or paint to resist long-term rust |
| Fiberglass/composite | RF-sensitive installations (near antennas), coastal/high-corrosion sites | Non-conductive, immune to rust, good fatigue resistance | Costs more, less commonly stocked in consumer mounting kits |
For most home weather station installs — a Vantage Vue or Vantage Pro2 sensor suite on a roof bracket or short ground pole — aluminum is the default choice, and it’s what ships in the Davis Mounting Pole Kit. Once you’re extending past about 6–8 feet unsupported, or mounting in an area with sustained high wind, galvanized steel takes over as the safer material, which is why taller ground mounts like the Davis Mounting Tripod use it.
Choosing the Right Mounting Height
Height is a compromise between measurement accuracy and structural practicality. The official meteorological standard for anemometer placement is 10 meters (33 feet) above open, unobstructed ground — a height almost no residential installation can reach or needs. For home and prosumer stations, the useful range is much shorter, but the same principle applies: get the sensor suite above the turbulent air layer created by the ground, roofline, trees, and nearby structures.
- 4–6 feet: Adequate for basic ground-level installs away from obstructions; expect some wind-speed underreading versus open-country readings.
- 8–12 feet: The practical sweet spot for most residential ground mounts — clears fences, shrubs, and low obstructions while staying within reach of a step-ladder for maintenance.
- Rooftop mounts: Effectively add your roof height to the pole height, but bring the sensor closer to a large, heat-absorbing surface — expect small daytime temperature reading bias unless the sensor is shielded and offset from the roof surface.
- Beyond 12 feet: Requires guying or a freestanding structural mast; wind load and bending moment increase sharply, and local wind or building codes may apply.
As a rule of thumb, every obstruction within roughly 10–15 times its own height (a fence, a tree, a chimney) can distort readings — so the goal isn’t just “taller is better,” it’s tall enough to clear the specific obstructions at your site.
Understanding Wind Load
Wind load is the force wind exerts on the mast and everything mounted to it, and it scales with the square of wind speed — double the wind speed and the force roughly quadruples. It also scales with the surface area of the sensor suite, mounting hardware, and any accessories (solar panels, antennas) attached to the mast. That force creates a bending moment at the base of the mast that grows with height: a taller, unsupported mast has to resist a much larger leverage effect than a short one, even carrying the identical sensor load.
| Mast Height | Typical Stabilization Needed | Guy Wires Required? |
|---|---|---|
| Up to ~4 ft, wall-bracket mounted | Bracket + lag bolts into structural framing | No |
| ~4–6 ft, freestanding ground mount | Tripod base or buried spike with L-braces | Usually not, in moderate wind areas |
| ~6–12 ft, freestanding or telescoping | Wide tripod base, deep ground anchor, or guy wires | Recommended, especially in open or high-wind sites |
| 12+ ft or any extension pole added to a mount | Guy wires at multiple heights, engineered base | Yes — required for safe installation |
Cirrusly Weather does not recommend adjustable or telescoping mounts in areas prone to high winds without guy-wire support — a mount that’s stable in calm conditions can still fail in a sustained gust once height or sail area increases.
If you’re stacking pole sections to gain height — for example, combining both poles in the Davis Mounting Pole Kit to reach 37.5″, or extending a tripod like the Davis Mounting Tripod past its base height — guy wires become necessary specifically because the added length multiplies the bending moment at the base, even though the wind area of the sensor itself hasn’t changed.
Guy Wires, Anchoring, and Stability
Guy wires work by triangulating the mast against three or four fixed ground anchors, converting bending force into simple tension the cables can resist. A properly guyed mast spreads anchor points at roughly 30–45% of the mast’s height as a radius, and uses at least three wires spaced evenly around the pole. Ground-based systems like the Climalytic Pole Mount with Guy Wires build this directly into the design, pairing a steel center spike and angled L-braces with adjustable guy cables — useful for taller instruments (precipitation gauges, additional sensor suites) that need more height than a standard bracket provides but don’t warrant a permanent structural install.
Whatever anchoring method you choose, a bubble level at installation time matters more than it seems — a mast that’s a few degrees off vertical changes both the effective height of the sensor and can introduce systematic bias into wind direction and rain-catch readings over time.
A Simple Selection Framework
- 1. Identify your obstructions. Note the height of nearby fences, trees, and roof edges — this sets your minimum useful mast height.
- 2. Pick a height band. Use the height guidance above to land on a target range (e.g., 8–12 ft ground mount).
- 3. Match material to height. Aluminum for shorter, lighter installs; galvanized steel once you’re mounting unsupported past 6–8 ft or in consistently windy conditions.
- 4. Check wind load implications. If your target height or added accessories push you into the “guy wires recommended/required” range above, budget for anchoring hardware up front rather than retrofitting after a failure.
- 5. Confirm mount compatibility. Most consumer weather stations (Davis, Tempest, Ambient Weather) accept a standard 1¼” mast diameter — verify before buying third-party poles or brackets.
Recommended Mounting Hardware
For most residential setups, start with the Davis Mounting Pole Kit — an inexpensive aluminum kit that reaches 37.5″ combined and covers most bracket-mounted installs. If you need more stability without guy wires, the galvanized-steel Davis Mounting Tripod is rated to stand alone with lag bolts for ground installs. For taller or more exposed installs — especially precipitation gauges or secondary sensor suites — the Climalytic Pole Mount with Guy Wires gives you an adjustable 30–65″ range with guy-wire anchoring built in. If you’re mounting a Tempest or similar compact station to a wall or vertical surface rather than the ground, the Tempest Universal Mount covers that case, with the same caution: use guy-wire support in high-wind areas.
Maintenance and Inspection
- Check guy-wire tension and anchor stakes twice a year, and after any major storm.
- Inspect aluminum poles for stress cracks near mounting collars; inspect steel poles and hardware for surface rust, especially at welds or cut ends where galvanizing may be thin.
- Re-check plumb with a level annually — ground settling and freeze/thaw cycles can shift buried anchors over time.
- Tighten collar locks and hardware seasonally; thermal cycling loosens fasteners over a full year.
Mast selection isn’t a one-size-fits-all decision — it’s a function of your specific site’s obstructions, your target height, and the wind load that height creates. Once you’ve matched material and stabilization to your actual conditions, the payoff is a station that reads accurately and stays put through the next storm, not just the next calm afternoon. For sensor-specific mounting guidance, see our anemometer buying guide for placement details, or browse mounting accessories to compare current options.