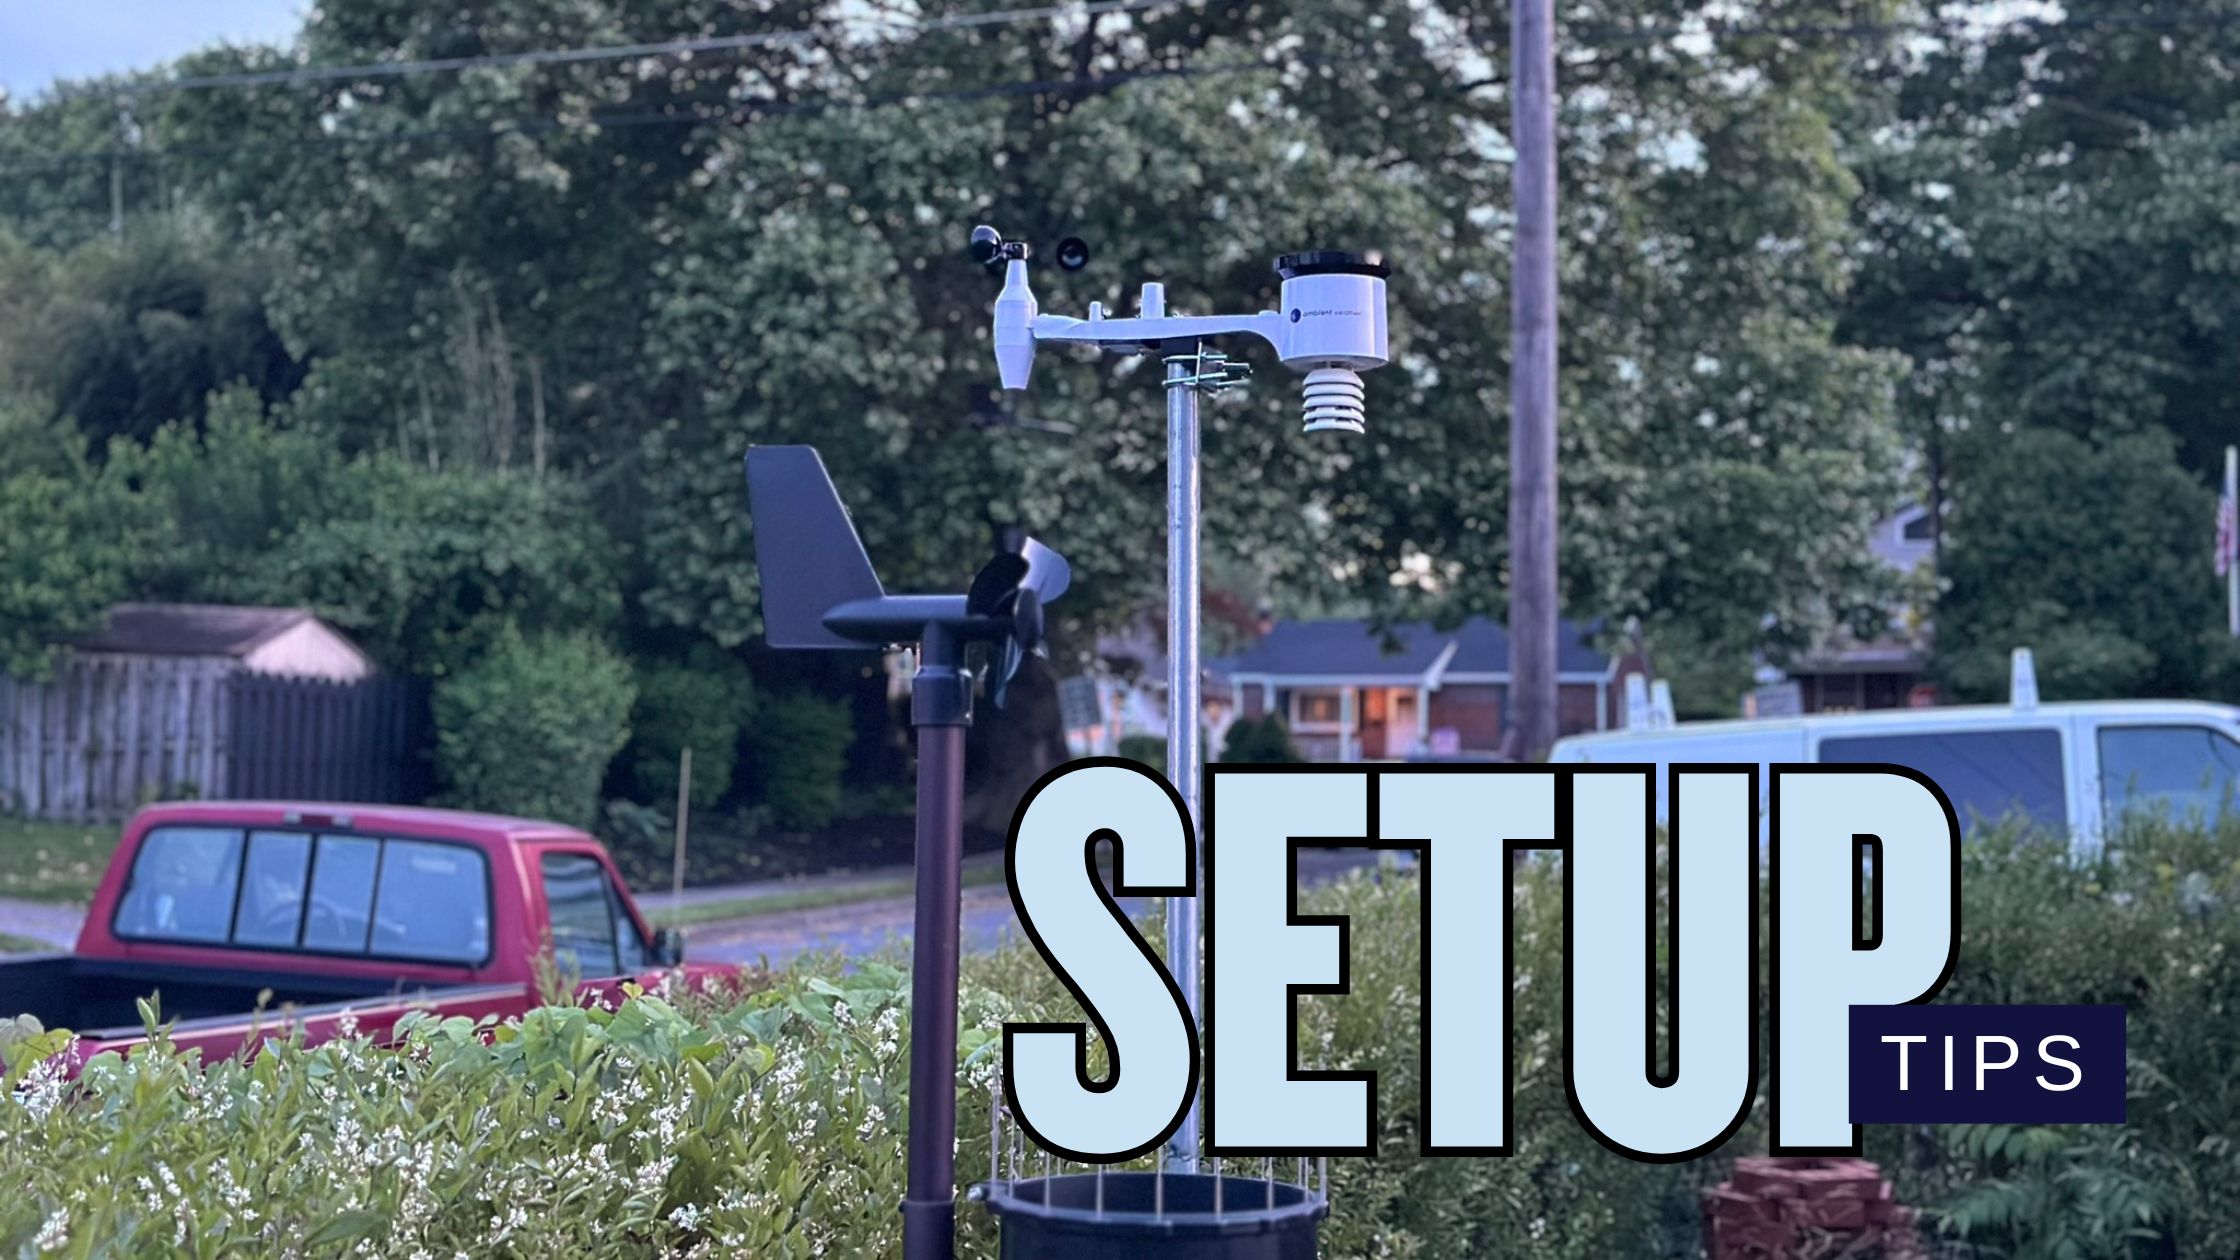
Portions of this blog post are from our comprehensive installation guide on The Weather Station Experts. We’ve edited it for brevity and to focus on the lines we carry here, Davis and WeatherFlow.
So you’re considering buying a weather station, or it just arrived, but you have no clue how to set it up. Have no fear—we’re here to help you get everything working. (And if you get stuck, reach out to support!).
Don’t worry, weather station setup isn’t too tricky.
Weather station setup: Basic recommendations
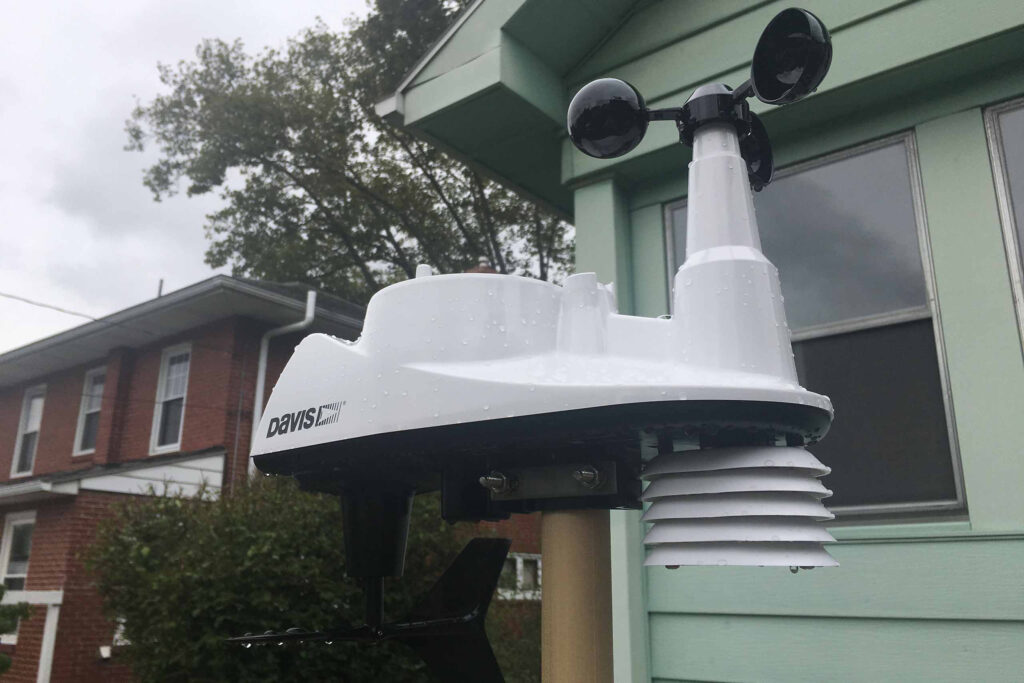
First, let’s start with the basics. There are standards for how weather observations are taken. This is done so that the data is standardized, making comparisons possible and ensuring accurate readings. The National Weather Service’s Cooperative Weather Observer Program (CWOP) is a good standard for personal weather stations regarding weather station sensor placement.
- According to the CWOP, the rain gauge should be mounted 4-6 feet above the ground and at a distance of at least four times the height of any nearby obstructions.
- The temperature sensor must be placed on level ground away from paved surfaces and other artificial heat sources. It should be at ‘eye level,’ about five to six feet above the ground.
- The anemometer should be mounted at a height of 33 feet above the ground and at a distance of 10 times the height of any nearby obstructions. This is often the hardest standard to meet in a home weather station, so if mounted on a roof, it should be at least six to ten feet above the roofline.
Most will not be able to meet these recommendations, especially regarding the anemometer. We recommend ensuring your temperature and rainfall readings are accurate before worrying about the anemometer.
If you bought the Vantage Pro 2…
Vantage Pro2 owners benefit from an anemometer assembly separate from the sensor suite. Use this to your advantage, and safely place that anemometer as high as possible!
Weather station setup: where to put it
We recommend surveying your yard before purchasing for an optimal location to place your weather station. Note the locations of tall objects such as trees, buildings, and other obstructions. Ideally, you’re looking for a spot with as much distance in all directions from any other objects.
Now, look up. How tall are the nearest obstructions? Are there power or other transmission lines above you? You want to avoid the latter if you plan to use a mast and mount.
Do I need to buy a mount for my weather station, or can I make my own?
Mounts are relatively inexpensive and straightforward to install. However, if you’re handy, you can make a mount from 1 1/4″ PVC piping. Attach the PVC securely to a fencepost or 4×4 driven into the ground.
Those looking for a long-term solution should opt for a metal mount and mast instead, as long PVC pieces will not be stable in windy conditions.
Cirrusly Weather offers three options compatible with both Davis weather stations and the WeatherFlow Tempest.
- Tempest Universal Mount: This mount is lightweight and easy to install for the WeatherFlow Tempest. (Note: It is not recommended for the Vantage Pro2.)
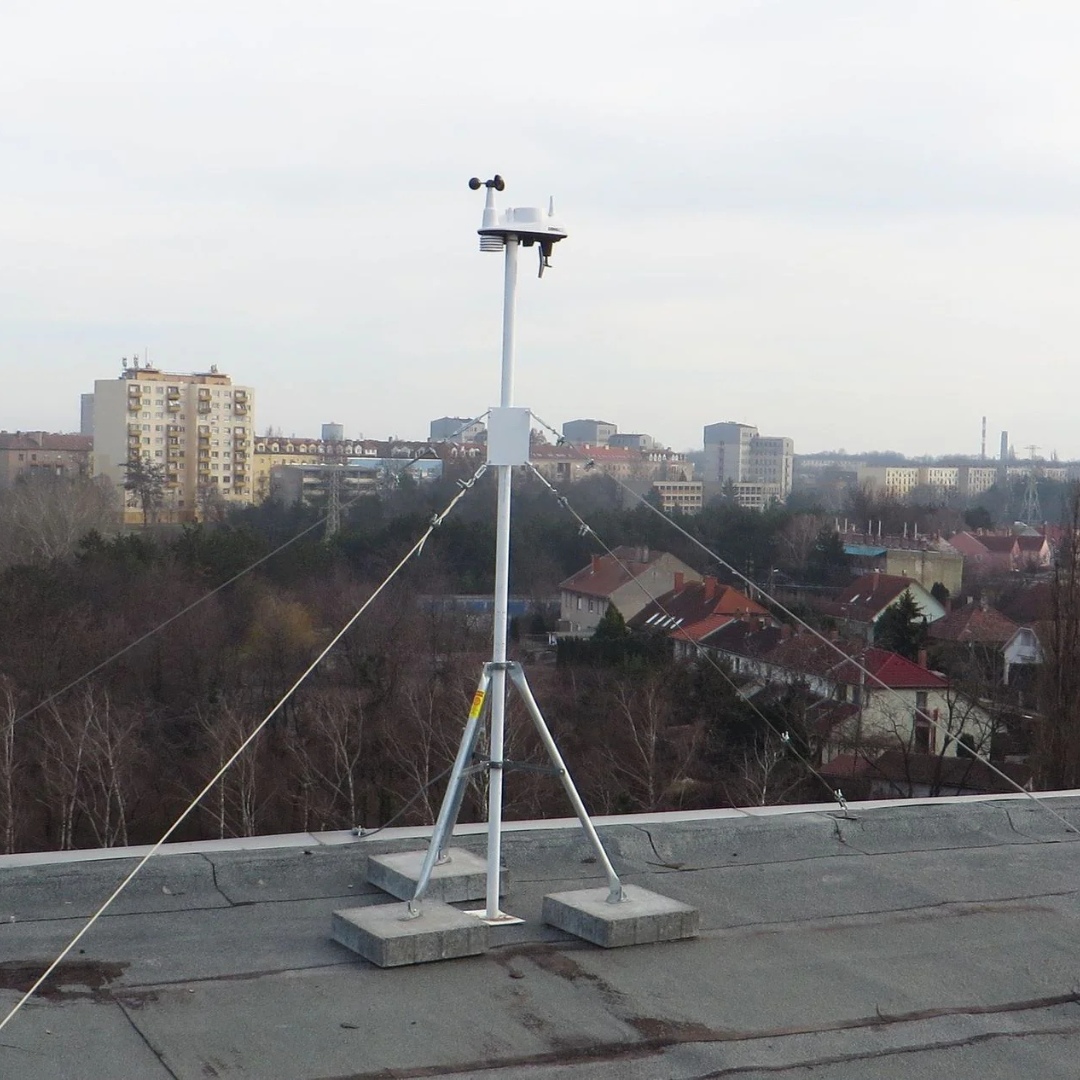
- Davis Mounting Tripod: A sturdy, adjustable tripod designed for Davis weather stations, providing optimal stability.
- Climalytic Instrument Pole Kit: Robust metal pole designed for long-term installations, compatible with both Davis weather stations and WeatherFlow Tempest.
Weather Station Setup Tips for the Davis Vantage Vue
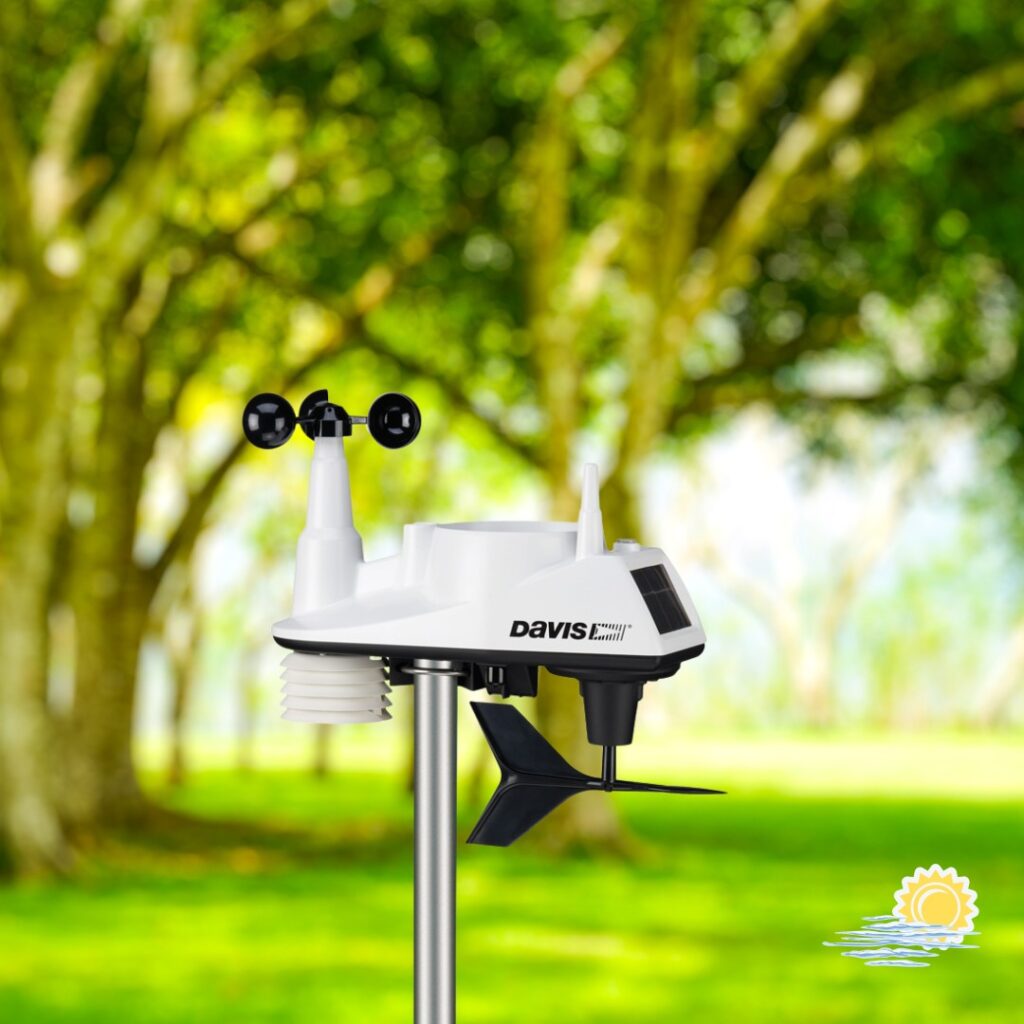
The Davis Vantage Vue is a compact, all-in-one weather station, making installation straightforward. When choosing a spot, keep in mind the CWOP guidelines. Mount your Vantage Vue sensor suite approximately five to six feet above grassy terrain, ideally away from paved or artificial surfaces that can skew temperature readings.
Since the anemometer is integrated into the sensor suite, achieving the recommended 33-foot height for wind measurements can be challenging. Aim to place the unit as high and clear of obstacles as possible, ideally on a stable mast or tripod. Davis’ mounting tripod or Climalytic Instrument Pole Kit is an excellent, stable solution for this station. Regularly check your sensor suite to ensure it’s secure and level, as wind and weather may shift it over time.
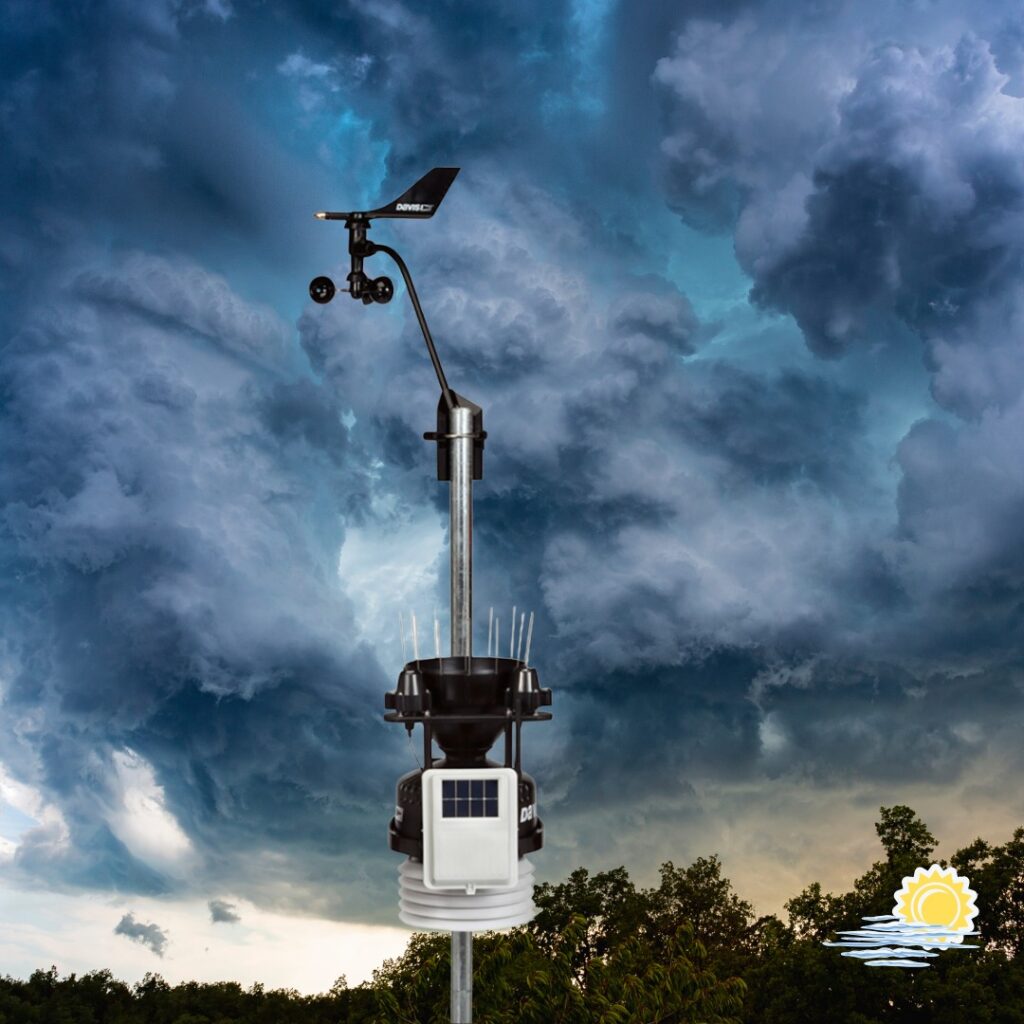
Weather Station Setup Tips for the Davis Vantage Pro2/Pro2 Plus
The Davis Vantage Pro2 and Pro2 Plus offer greater flexibility thanks to their separate anemometer assembly. This allows you to optimize sensor placement individually for accurate readings:
- Temperature & Rainfall Sensors: Mount the sensor suite about five to six feet above grassy ground, away from artificial heat sources or reflective surfaces like driveways, buildings, or sidewalks.
- Anemometer: Place your anemometer as high and unobstructed as possible to capture precise wind measurements. Consider mounting it on a rooftop mast or tall pole, ideally about 33 feet high or at least six to ten feet above your roofline, to minimize interference from turbulence caused by buildings and trees.
Using a robust metal mast or tripod mount, such as the Davis Mounting Tripod or the Climalytic Instrument Pole Kit, will ensure stability and accuracy over time. Remember to periodically check cable connections and mounts for wear, especially after severe weather.
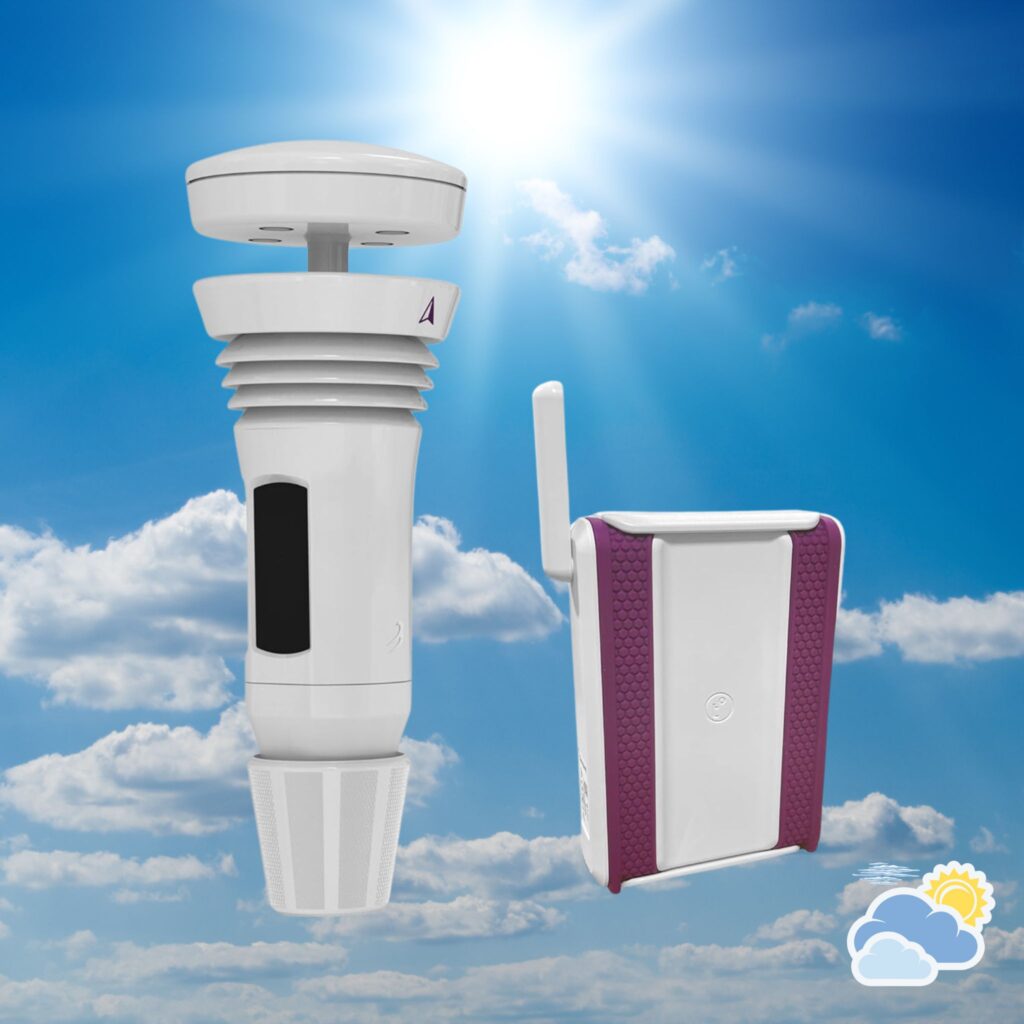
Weather Station Setup Tips for the WeatherFlow Tempest
The WeatherFlow Tempest features a sleek, all-in-one design with no moving parts, making installation quick and straightforward. Choose an open area with minimal obstructions to ensure optimal sensor accuracy.
Mount your Tempest unit about five to six feet above ground level for accurate temperature, humidity, and rainfall measurements. If precise wind readings are a priority, elevate your station—ideally 15 feet or more—using the Tempest Universal Mount or the Climalytic Instrument Pole Kit for added stability.
Because the Tempest uses sonic wind measurement technology, it’s critical to avoid placing the unit near large objects or structures that might disrupt airflow. Ensure your unit is perfectly level and periodically inspect the mount to maintain sensor accuracy and stability.
Wrapping Up
With these weather station setup tips, you can install your station and collect accurate, reliable data from your backyard. Proper installation is key to getting the most out of your equipment and ensuring consistent, valuable weather insights. If you encounter any challenges or have further questions, our support team is always here to help you maximize your investment.

